Recipes, Uncategorized

Banana Bread

This is my GO TO banana bread recipe when I am baking for other people. I love my wheat-free banana bread, and so does my husband, but it is a bit more of an acquired taste and a different texture since it’s made with oats instead of flour.

This recipe is one that I veganized out of my mom’s cookbook from when I was growing up. It is so easy to make and always a crowd pleaser.

direct notes from Mom’s cookbook

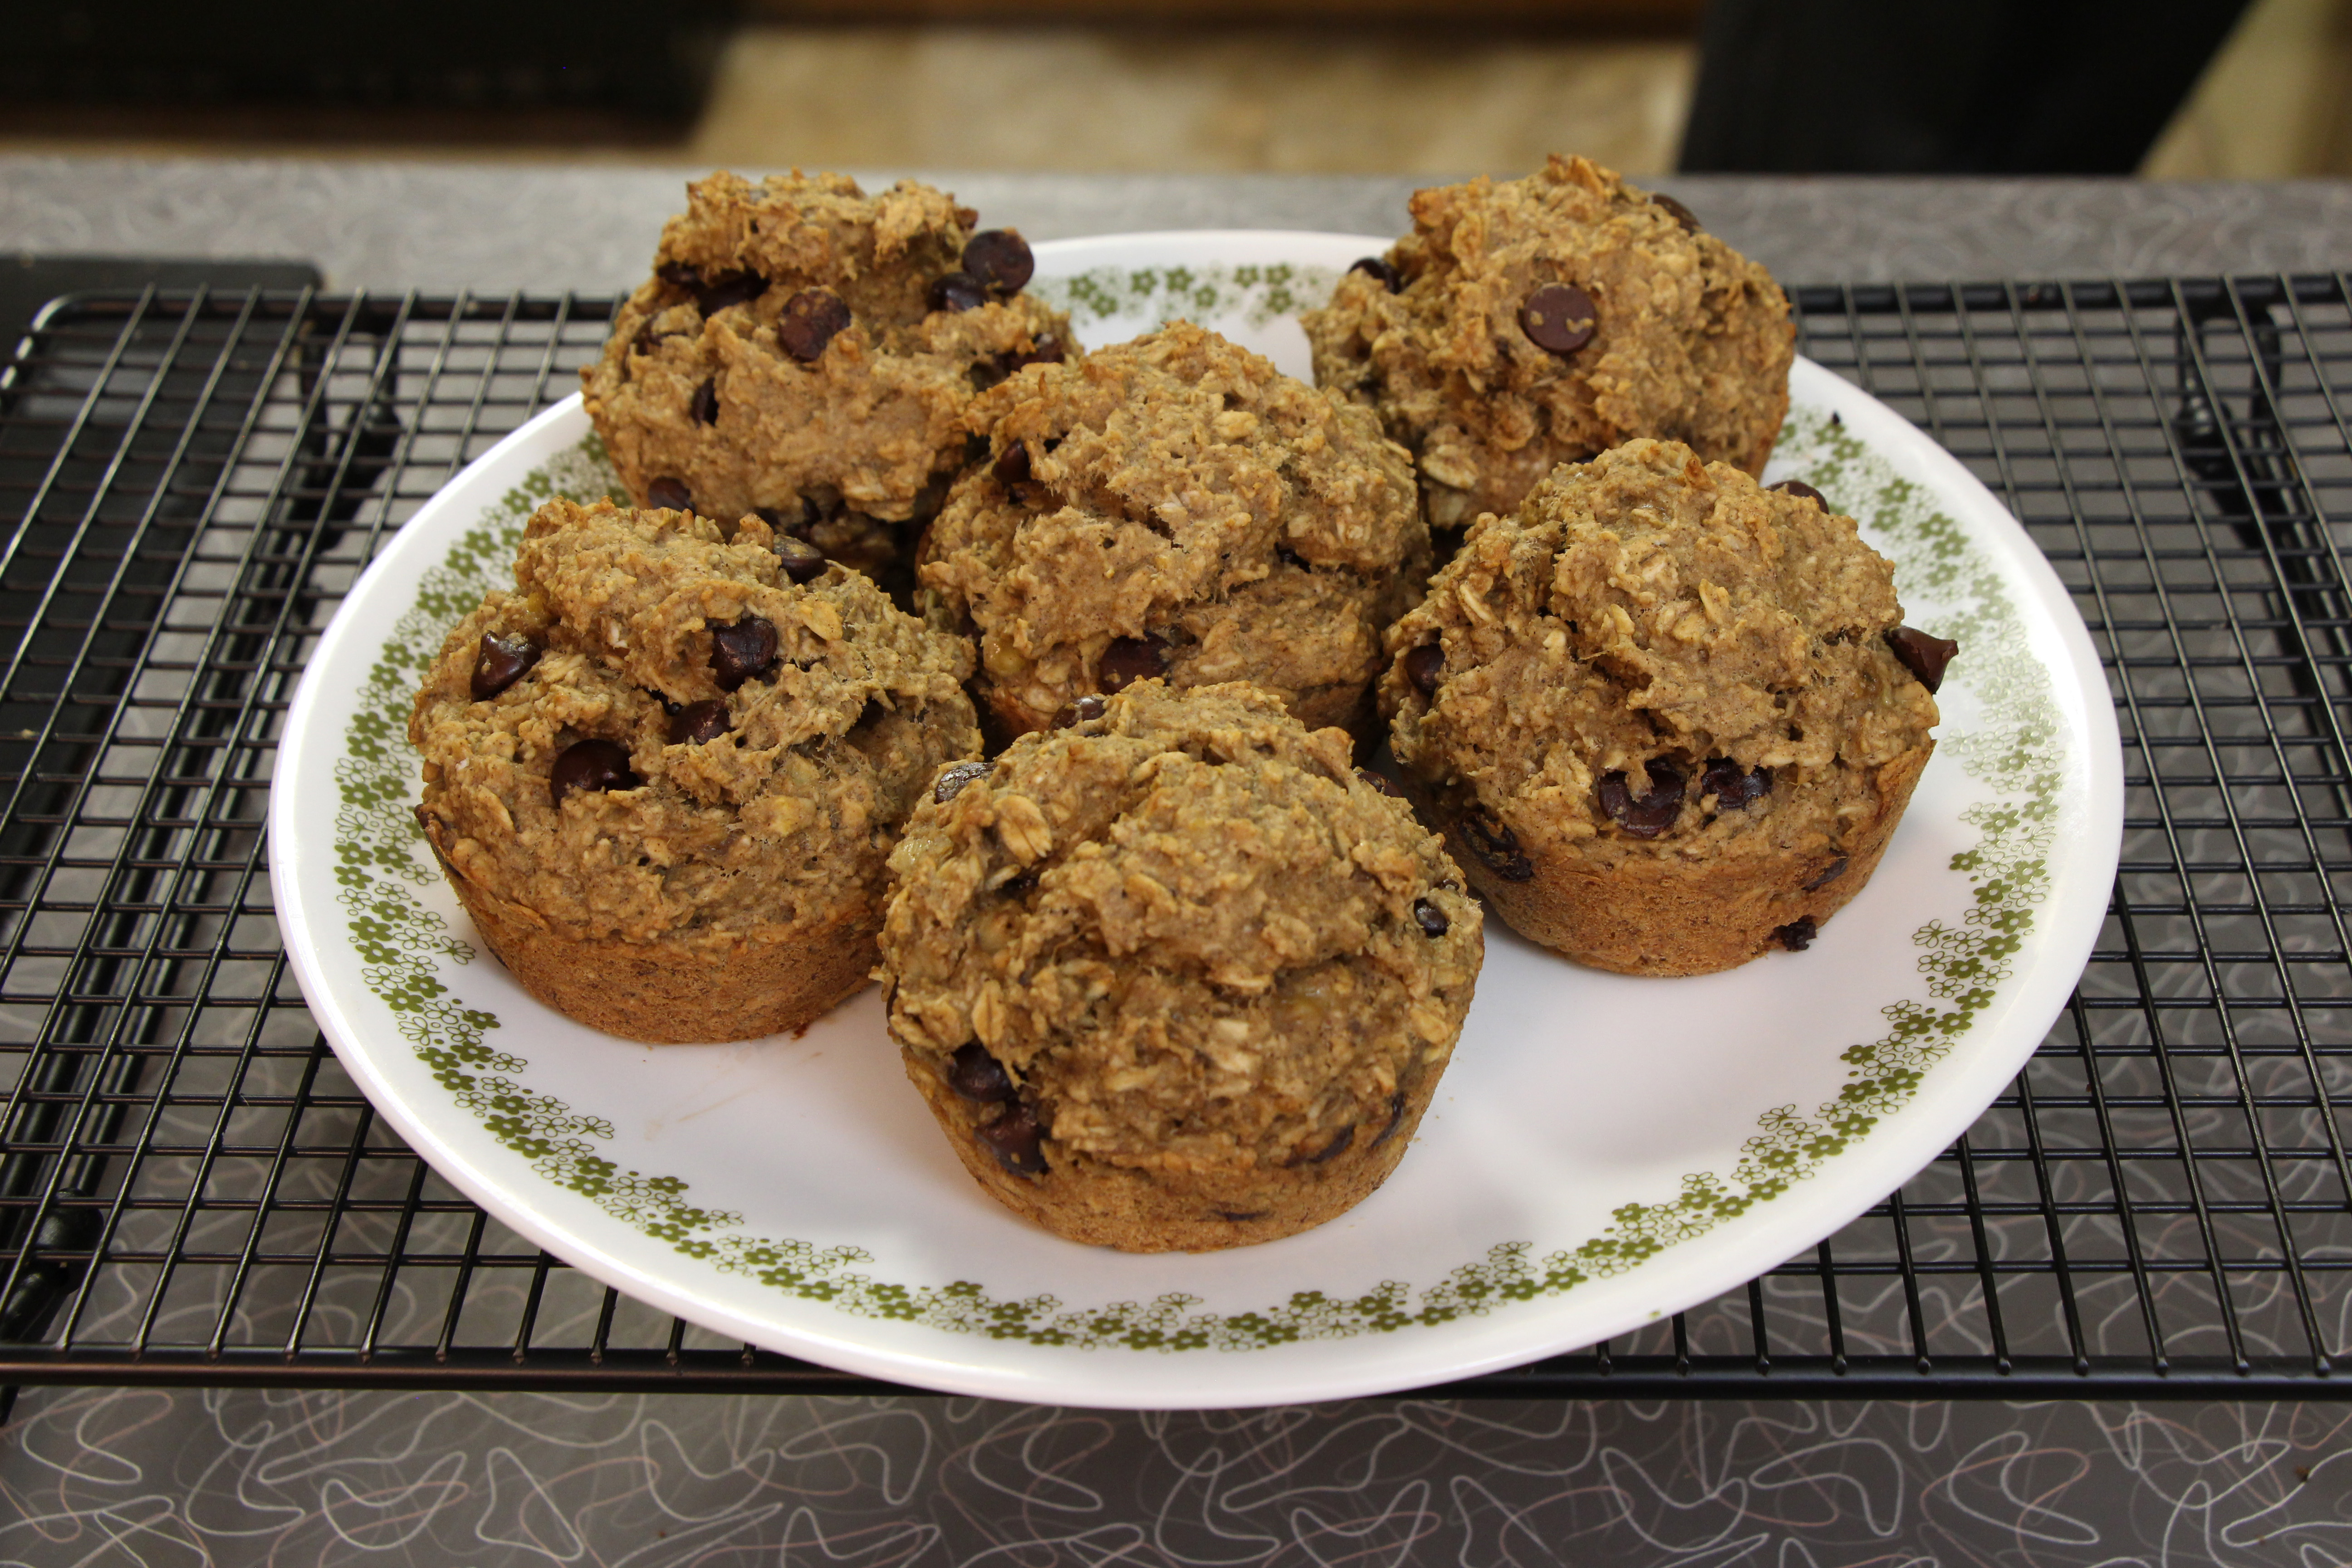
She makes it every year for family in little mini-loaf pans, and I prefer to make mini-muffins for bite-sized baked goods when I make them. The original recipe has the bake time for a regular loaf (9 inch x 5 in x 3 in) so I have bake times for all the above and more!

Ingredients:

  • 2 Tbsp flax seed, ground
  • 6 Tbsp water
  • 3/4 cup sugar
  • 2 – 3 medium bananas, mashed (yields about 1 1/2 cups)
  • 3/4 cup vegetable oil
  • 2 cups all-purpose flour
  • 1 tsp baking soda
  • 2 tsp vanilla
  • 1/2 tsp baking powder
  • 1/2 tsp salt
  • 1/2 cup chopped nuts (optional)

Directions:

  1. Preheat oven to 325ยบ F.
  2. In a small bowl, whisk together the ground flax seed and water.
  3. Grease the pan or tin you will be using with spray or some of the vegetable oil. You can also use muffin tin liners if you are making muffins.
  4. In a large bowl, mash your banana. Then, using a wooden spoon, mix in the flax seed/water mixture, sugar, and oil.
  5. Stir in the remaining ingredients.
  6. Spread the batter into your greased or lined tin or pan.
  7. Bake until you can insert a toothpick or tool and it comes out clean. Times vary based on your oven, but here are the times we’ve found that work:
    • Full sized loaf: 60 – 70 min
    • Mini-loafs (makes 4 tins): about 35 min
    • Full sized muffins: 20 – 25 min
    • Mini-muffins (makes about 3 dozen): about 15 min

Enjoy!

Advertisement
Recipes, Uncategorized

Wheat-Free Banana Bread

Vegan Living by Danielle | Wheat-Free Banana Bread

These banana bread muffins are so satisfying and delicious! I don’t feel guilty eating them either because all the ingredients are healthy (in moderation).

If you want the bread to be gluten-free, make sure that the oats are certified gluten-free. Sometimes oats are mixed with other, non-wheat, grains.

Some people are, but I’m not a huge fan of the hint of coconut flavor, so I love to use butter flavored coconut oil in the batter and to grease the pan too! Vegetable oil is another oil you could substitute for coconut oil.

Ingredients:

  • 2 medium-size ripe bananas
  • 1/4 cup unsweetened creamy peanut butter
  • 1/4 cup unsweetened almond or coconut milk
  • 1/4 cup pure maple syrup
  • 1 tablespoon melted coconut oil
  • 2 teaspoons vanilla extract
  • 1 and 3/4 + 1/2 cup old-fashioned oats, divided
  • 1 teaspoon cinnamon
  • 2 teaspoons baking powder
  • 1/2 teaspoon baking soda
  • 1/4 teaspoon salt
  • 1/2 cup chocolate chips

Directions:

  1. Preheat oven to 350F. Grease or line muffin tin or pan.
  2. In a mixing bowl, mash the 2 bananas.
  3. Mix in peanut butter, nut milk, syrup, coconut oil, and vanilla. (Highly recommend adding the peanut butter first. I dropped it in after the milk and syrup…things got messy.)
  4. Use a blender or food processor to grind the 1 and 3/4 cup oats to a very coarse flour as shown below. (Finer flour will yield a final product with a gummy texture.)

Vegan Living by Danielle | Oats for Banana Bread

  1. Mix the coarse oat flour, the 1/2 cup whole oats, cinnamon, baking powder, baking soda, and salt into the batter.
  2. Once you have a relatively smooth batter, mix in chocolate chips!
  3. Scoop into your pan or muffin tin.
  4. Use a spatula or knife to spread the batter across the pan. (It doesn’t need to be perfect, just get it into all the corners.)
  5. Cook the bread for 30 minutes, muffins for 15-20 minutes depending on the size of the muffins. (I cooked my 6 large muffins for 20 minutes.)
  6. Check if the middle of the bread is cooked with a toothpick or fork.
  7. Set bread to cool on a cooling rack for 10 minutes.
  8. If you greased the pan instead of using a liner, use a fork or knife to carefully remove the bread from the pan.

Enjoy!